Builder CI
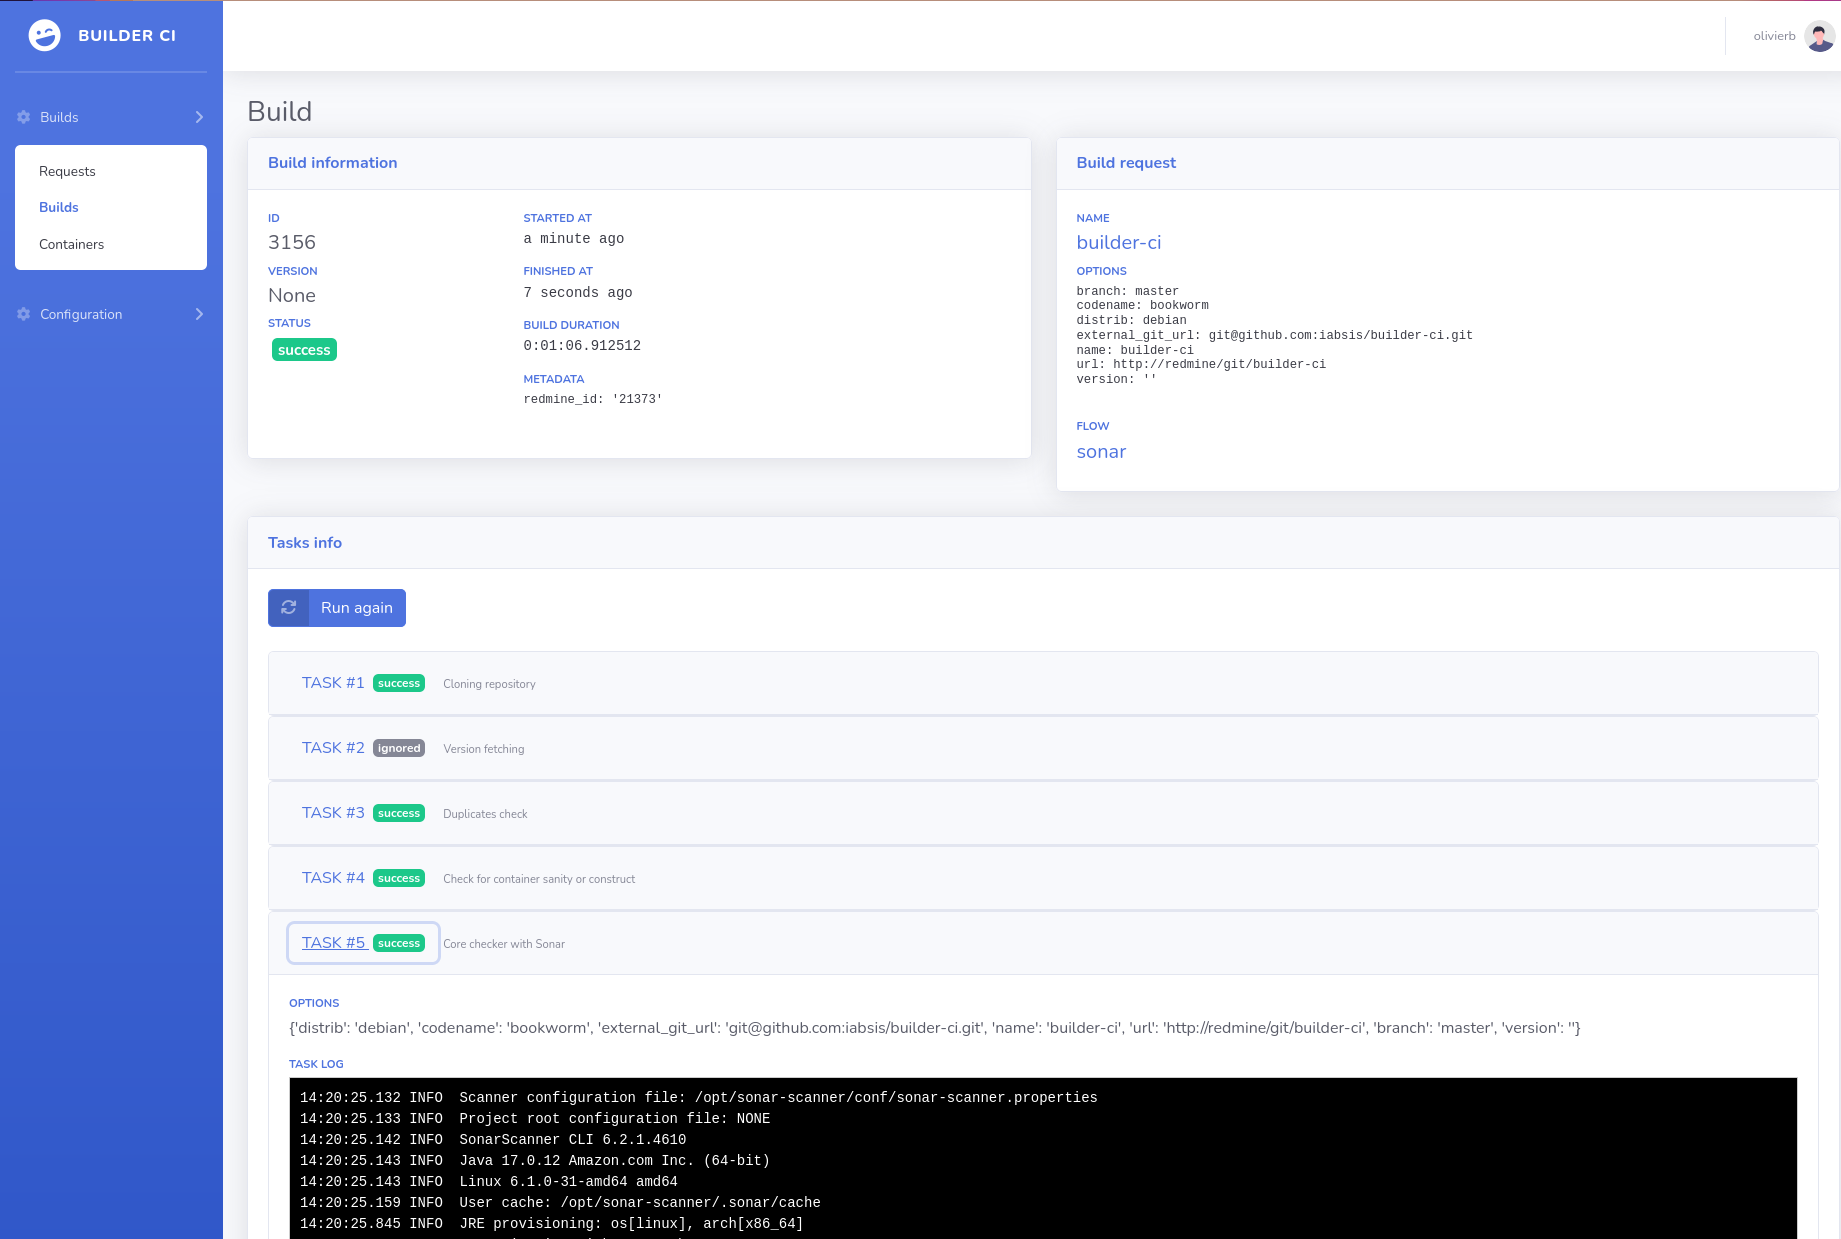
Builder CI is an automated build system designed to support Continuous Integration (CI) across various types of development projects. It was created with the goal of simplifying and automating build pipelines in a more efficient way than traditional tools like Jenkins.
It’s designed to optionally integrate with Redmine via a dedicated plugin, allowing better visibility into builds directly within project management workflows.
Features
- Create any script to create your package (e.g.,
.deb,.rpm) - Exposes a REST API to trigger builds
- Modular and extensible — build your own flow
- Lightweight: built with Python and minimal dependencies
- Easy to install and update with a single command on Debian Bookworm
- Uses PostGreSQL, Django and Podman.
- Commands are run in container for more safety.
- "Build as Code": configure builds using a
builder.ymlfile - Trigger multiple flow in one commit
- Automatic podman container build, based on advance rules
Installation Guide (Takes ~2 Minutes)
Note: All commands should be run as
root.
Install Builder CI (Debian Bookworm)
echo "deb [trusted=yes] https://projects.iabsis.com/repository/builder-ci/debian bookworm main" > /etc/apt/sources.list.d/iabsis.list
apt update && apt install builder-ci postgresql redis nginx
This will return error since database is not yet configured, ignore for now and go to next step
Configure database
su - postgres
createuser --pwprompt builder
createdb -O builder builder
Configure Builder CI
Now edit /etc/builder-ci/builder-ci.conf and change the following lines.
DATABASE_NAME=builder
DATABASE_USER=builder
DATABASE_PASSWORD=builder
ALLOWED_HOSTS=mybuilder.com
Now fix the previous error with apt -f install
Configure Nginx
Create a simple nginx configuration that will be used also serve static files.
server {
    listen 80;
    server_name mybuilder.com;

    location /static/ {
        alias /usr/share/builder-ci/statics/;
    }

    location / {
        proxy_set_header Host $host;
        proxy_pass http://127.0.0.1:8000;
        proxy_http_version 1.1;
        proxy_set_header Upgrade $http_upgrade;
        proxy_set_header Connection "upgrade";
    }
}
If you need to setup letsencrypt certificate, install python3-certbot-nginx and run certbot --nginx.
Create first django user
set -a ; . /etc/builder-ci/builder-ci.conf
cd /usr/share/builder-ci/
. ./venv/bin/activate # Dont forgot the first dot
python3 manage.py createsuperuser
Now open
And login with your super user.
Frequently Asked Questions
Is Builder CI stable for production use?
Yes. It's used in production with frameworks like Laravel, Symfony, Ionic, Flutter, NestJS, Angular, and React across platforms such as Android, Debian, Ubuntu, Red Hat, and CentOS.
I'm using redmine, can I have build status inside?
Yes, we did a Redmine plugin. Once installed, create API key and configure
REDMINE_URL=https://<your redmine host>
REDMINE_KEY=<your redmine key>
Does Builder support SSO
Yes, you can configure SSO like Keycloak by configuring OpenID in configuration.
OPENID_ID=sso
OPENID_NAME="<display name on login page>"
OPENID_CLIENT_ID=<your keycloak client ID>
OPENID_SECRET=<your keycloak secret>
OPENID_CONFIGURATION_URL="https://<your keycloak url>/realms/<your keycloak realm>/.well-known/openid-configuration"
Contributing
We welcome contributions of all kinds — including code, documentation, bug reports, and feature suggestions.
While formal contributing guidelines are coming soon, you can:
- Fork the repository
- Create a new branch for your changes
- Open a pull request
- Share feedback via comments or discussions
License
Builder CI is licensed under the GPL-3.0 License.
Updated by Olivier Bitsch about 1 year ago · 5 revisions